
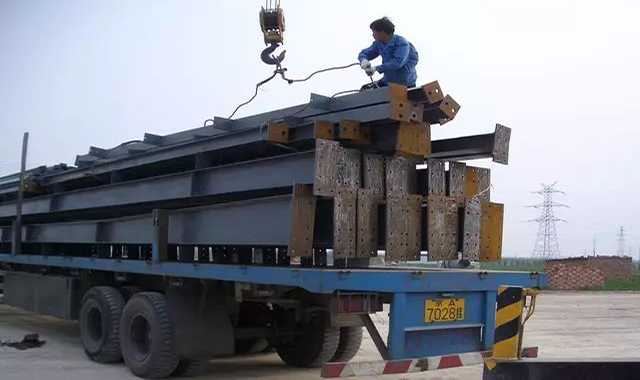
The whole process of steel structure installation
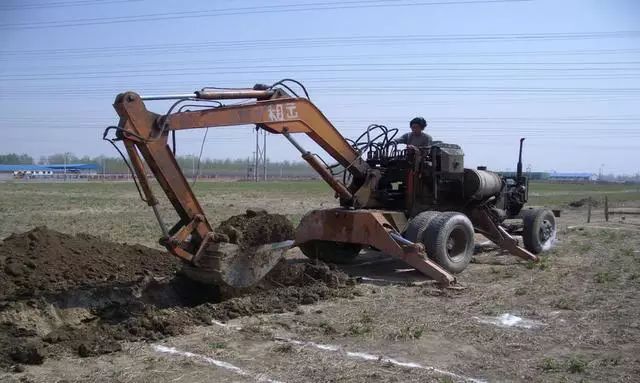
1.Foundation excavation
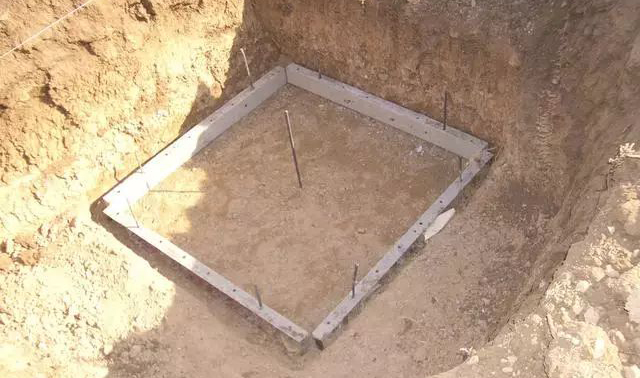
2.FORMWORK support for foundation
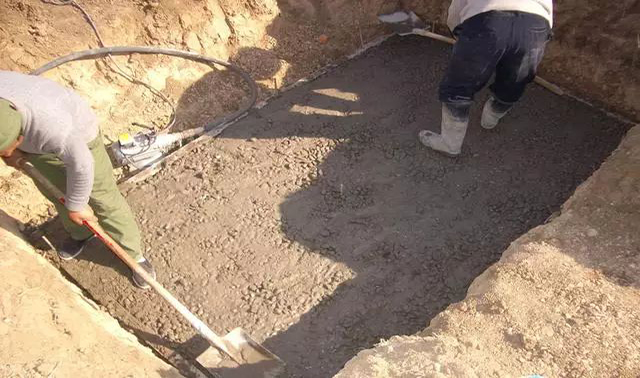
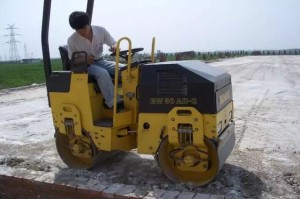
3.Concrete placement
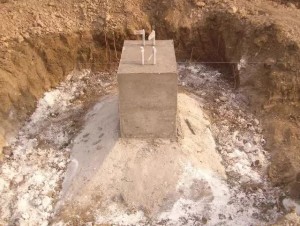
4.Installation of anchor bolt
Firstly, assemble the anchor bolts into groups according to the design size. Make a "template" according to the design size and mark the position of the axis; When embedding, first put the assembled anchor bolts into the erected concrete formwork, put the "formwork" on the assembled anchor bolts, position the formwork with theodolite and level gauge, and then fix the anchor bolts with reinforcement and concrete formwork with electric welding machine. When fixing, ensure the relative position of anchor bolts and concrete formwork.
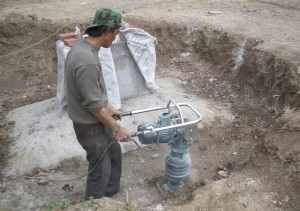
Problems to pay attention to during concrete pouring: before concrete pouring, oil cloth must be wrapped around the screw buckle of the bolt to protect the screw buckle, which can be untied when the steel structure is installed. In the process of concrete pouring, it is necessary to avoid stepping on the formwork as much as possible, and the vibrator should avoid directly touching the bolt, especially the screw buckle. After the concrete pouring is completed, checking the elevation of capital. Those that do not meet the requirements shall be rectified before the initial setting of the concrete. After the completion of concrete pouring and before the initial setting, the position of anchor bolts shall be corrected again.
I The preparation before installation
1.1. Check mobilization data, quality certificates, design changes, drawings and other technical data
1.2. Implement and deepen the construction organization design and make preparations before lifting
1.3 Master the external environment before and after installation, such as wind force, temperature, wind and snow, sunshine, etc
1.4 Joint review and self review of drawings
1.5 Foundation acceptance
1.6 Setting of base plate
1.7 The mortar adopts non shrinkage and micro expansion mortar, which is one grade higher than the foundation concrete
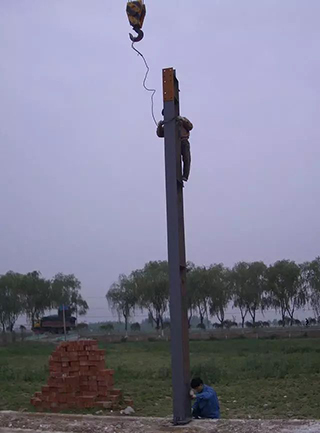
Ⅱ Steel column installation
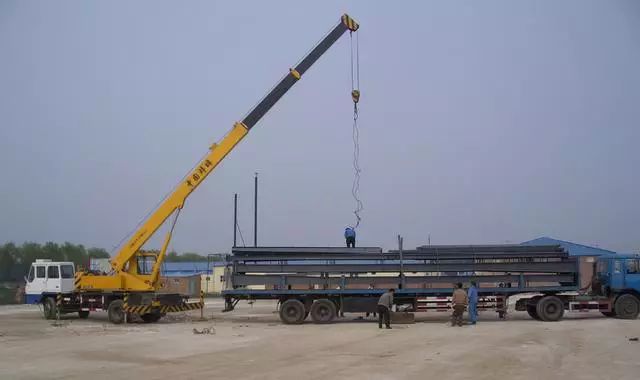
2.1 set elevation observation points and centerline marks. The setting of elevation observation points shall be based on the supporting surface of corbel and easy to observe. For columns without corbel, the center of the last installation hole connected between the top of the column and the truss shall be used as the benchmark. The center line mark shall comply with the corresponding regulations. When installing multiple sections of columns, the columns should be assembled and then hoisted as a whole.
2.2. The steel column shall be adjusted after hoisting, such as the deviation caused by temperature difference and side sunlight. The allowable deviation after column installation shall meet the corresponding regulations. After the roof truss and crane beam are installed, the overall adjustment shall be carried out, and then the fixed connection shall be carried out.
2.3. For columns with large length and thin, temporary fixing measures shall be added after hoisting. The support between columns shall be installed after the column is aligned.
Ⅲ Crane column installation
3.1 The installation shall be carried out after the inter column support corrected for the first time. The installation sequence starts from the span with inter column support, and the hoisted crane beam shall be temporarily fixed.
3.2 The crane beam shall be corrected after the roof system components are installed and permanently connected, and the allowable deviation shall comply with the corresponding regulations. The elevation can be corrected by adjusting the thickness of the base plate under the column base plate.
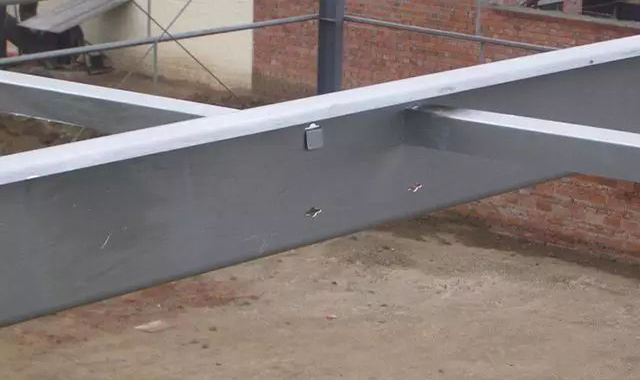
3.3 The connection between the lower flange of the crane beam and the column bracket shall comply with the corresponding provisions. The crane beam and auxiliary truss should be installed as a whole after assembly, and its lateral bending, distortion and perpendicularity should meet the requirements.

Ⅳ Roof Installation
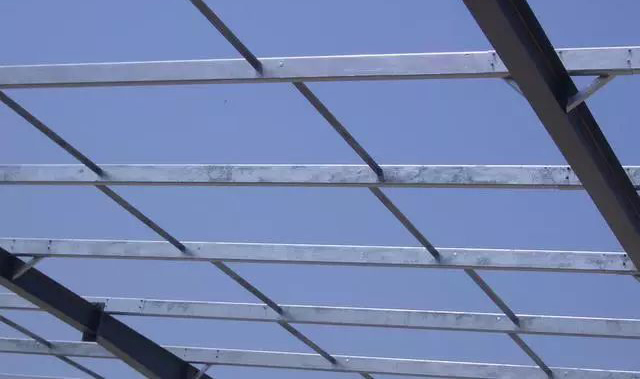
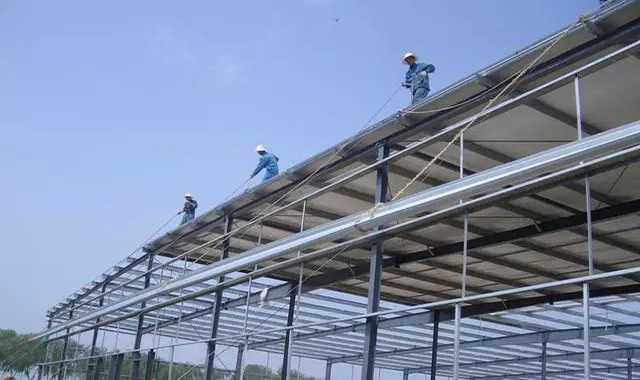
4.1 Check the C-type purlins on site, and leave the site for replacement for purlins whose geometric dimensions are out of tolerance or have been seriously deformed during transportation.
4.2 When installing the purlin, it must be perpendicular to the roof ridge to ensure that the roof purlin is in one plane. First install the roof ridge purlin, weld the roof ridge brace, and then install the roof purlin and roof opening reinforcing purlin in turn. When installing the downhill purlin, it must be installed, leveled and tensioned to ensure that the purlin does not distort and deform and effectively prevent the instability of the compression wing of the roof purlin.
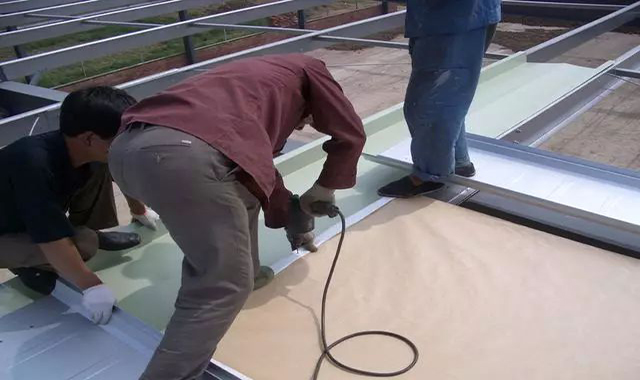
4.3 Recheck the geometric dimension, quantity, color, etc. of the mobilized roof panel, and leave the site for replacement if there are serious defects such as serious deformation and coating scratch during transportation.
4.4 set the installation reference line, which is set on the vertical line of the ridge line at the gable end. According to this reference line, mark the section effective coverage width positioning line of each or several profiled steel plates in the transverse direction of the purlin, lay them in sequence according to the plate arrangement drawing, adjust their position while laying and fix them. The ridge support plate shall be installed first.
4.5 When laying roof profiled steel plate, temporary pedestrian Board shall be set on the profiled steel plate. The construction personnel must wear soft soled shoes and shall not gather together. Temporary plates shall be set at the places where profiled steel plates travel frequently.
4.6 The ridge plate, flashing plate and roof profiled steel plate shall be connected by overlapping, and the overlapping length shall not be less than 200mm. The overlapping part shall be provided with water retaining plate, waterproof plug and sealing strip. The overlapping length of the overlapping part between ridge plates shall not be less than 60mm, the spacing of connectors shall not be greater than 250mm, and the overlapping part shall be filled with sealing glue.
4.7 Pay attention to the longitudinal gradient in the installation of gutter plate.
Purlin Installation
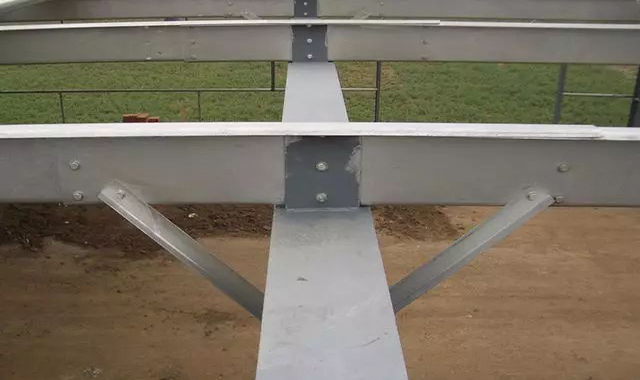
Bracing installation
Knee brace installation
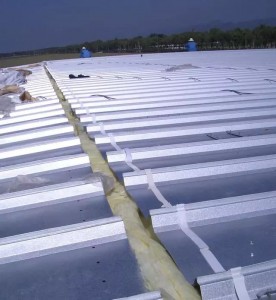
Roof panel installation
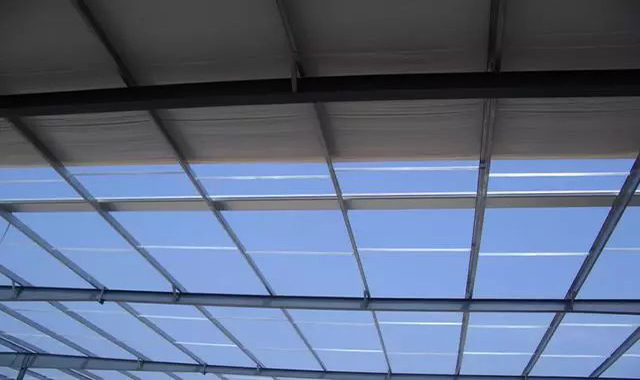
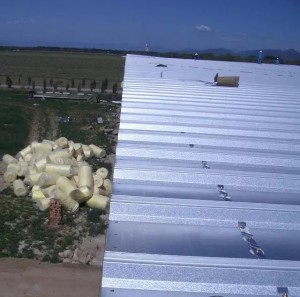
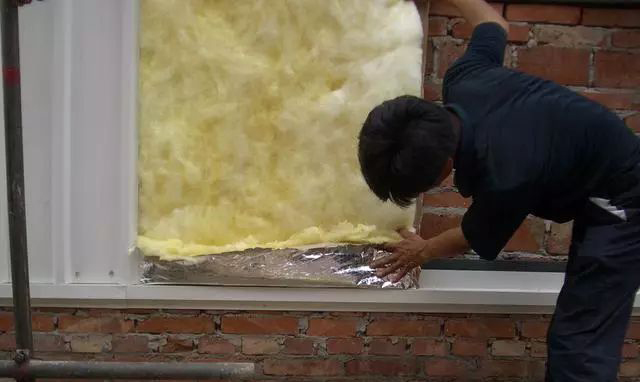
Insulation material
Eave and ridge installation
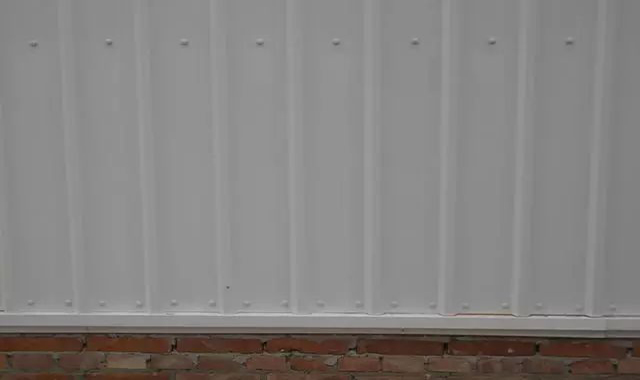
Ⅴ Wall installation
5.1. The wall purlin (wall beam) must be installed by pulling down the vertical line from the top to ensure that the wall purlin is in a plane, and then install the wall purlin and hole reinforcing purlin in turn.
5.2 The inspection of wall panel is the same as that of roof panel.
5.3. Set the installation datum line and draw the accurate position of door and window openings to facilitate the cutting of wallboard. The installation datum line of wall profiled steel plate is set on the vertical line 200mm away from the external corner line of gable. According to this datum line, mark the section effective coverage width line of corner wall panel on the wall purlin.
5.4 The wall panel is connected with the wall purlin by self tapping screws. Cut a hole in the wall profiled plate, draw the edge line according to the size of the hole, and then install it.
5.5. The inner and outer wall panels shall be laid against the prevailing wind direction. Waterproof sealing materials must be set at the overlapping parts between flashing plates, angle wrapping plates and between flashing plates, angle wrapping plates and profiled steel plates. For the overlapping of gable flashing plates and ridge plates, gable flashing plates must be installed first and then ridge plates.
Wall installation
Post time: Mar-22-2022